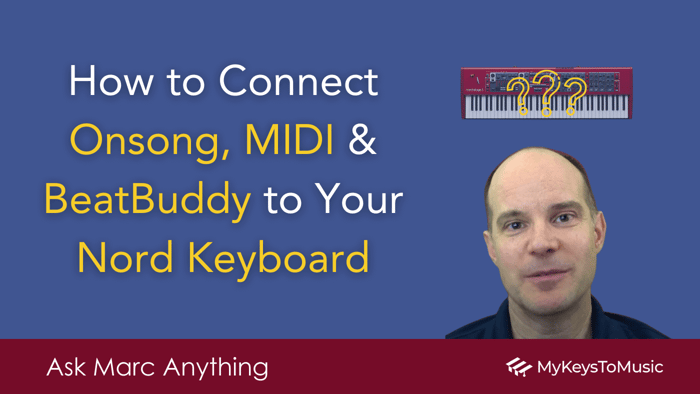

How to Connect OnSong, MIDI & BeatBuddy to Your Nord Keyboard
Ask Marc Anything 🤔
The Original Question:
@josipbosnjak6808 asks: Hi. Is it possible to connect OnSong to Nord via USB cable, then Nord with BeatBuddy via MIDI so that if you change the program on OnSong, it changes the program on your Nord and the song on BeatBuddy? (OnSong is a music notation app designed for creating, managing, and performing digital sheet music and chord charts, and it runs on iOS devices such as iPhones and iPads.)
Answer:
Hey Josip. Yes, this should be possible, but only using a Nord Stage keyboard, which has the ability to change a patch of an external device via the Extern option when a program is changed.
Setup Option #1
(Note: This requires a Nord Stage 3 or a Nord Stage 4)
- Connect an iPad running OnSong to your Nord keyboard by way of the USB port. In this example, the iOS device will act as a "MIDI Host." Note you'll need to have the suitable cable from the USB B (from the Nord) to either Lightening or USB C on the IOS device. You should be able to buy a single cable to do this.
- Pre-program the Nord Stage keyboard so that your patches use the "Extern" option, whereby changing a program on the Nord then sends MIDI commands out to change the Beat Buddy program. You'll be using the traditional 5-pin MIDI cable out to MIDI in on the Beat Buddy.
- Once OnSong sends the program change to the Nord, the Nord then sends a program change to BeatBuddy (by way of the Extern section).
Note: The above configuration would be a bit unusual and has several limitations. First, it only works with a Nord Stage keyboard requiring the "Extern" feature. A Nord Wave 2, Electro, Grand, Piano, or Nord Lead will have no ability to then change the Beat Buddy patch when the Nord program is changed via OnSong. Also, for the Nord Stage 4 in particular, turning on the Extern option uses a synth layer, which is then wasted on the BeatBuddy patch change, seeing how you don't need that layer for any other reason. So, this is less than ideal. On the Stage 3 however, the impact is less of an issue because the Extern section is dedicated and doesn't use either of the existing synth layers.
Setup Option #1
(Note: This setup is more ideal)
Invest in a WIDI (wireless MIDI) setup. Although perhaps a touch more tricky to set up and a touch less reliable than a wired connection, this method would be seen as a more "standard" best practice in the world of MIDI and connections (in my opinion). It works like this:
- Connect the iPad running OnSong to a WIDI device connected to the Nord keyboard.
- Connect a second WIDI device to the Beat Buddy and ensure that both MIDI devices are on the same network.
- Program OnSong to send two commands when switching songs. For example, the first command would be assigned to switch programs on the Nord on channel 1 (Nord on Global MIDI 1). Then, a second command would go to the Beat Buddy on Channel 2 (MIDI In).
- Because the BeatBuddy has the ability to assign separate MIDI channels for In and Out, you could still have the BeatBuddy send clock signals out on MIDI channel 1 to be received by the Nord Stage/Wave 2 on channel 1 if you wanted to sync your arpeggiator and delay to the beat/tempo.
Note: WIDI devices are powered by their MIDI "Out" port, so both the Nord and the BeatBuddy will also use their "Out" ports to power them. Learn more about the basic WIDI connector using my affiliate link here.
Added bonus: The benefits of a WIDI setup include increased mobility, reduced cable clutter, and enhanced stage aesthetics, making it a popular choice among modern musicians. The WIDI platform also enables you to connect one WIDI to another, providing built-in wireless MIDI Merge and MIDI thru capability.
⚠️ Warning!
Setting up wireless MIDI requires extra techie skills and, for some, beyond what they are willing to invest in. Getting these devices updated and connected will take a bit of time and patience, as well as steadfast dedication to learning how it all works if you've never done it before.
However, once you arrive at that place, the rewards are plentiful because adding additional wireless devices is available to you using the WIDI platform. The benefit of not having a bunch of wired MIDI cables running around cannot be understated. But to say that setting up these devices is as easy as plugging in a traditional MIDI cable from A to B is an overreaching statement.
Then again, this entire situation is a bit "techie" due to the fact that you are already dealing with LSB/MSB numbers on the Nord, and you are attempting to switch two devices simultaneously on separate channels. But like I said, once you get it all connected and working, you'll feel like you've accomplished something special, and you'll be excited about the achievement.
I learned more about WIDI by watching the tutorials provided by the manufacturer. But it took some time to absorb it and reach the end of the tunnel (and I consider myself very techie). In my case, however, I was connecting 4 Nord keyboards and a computer across two separate WIDI networks - which is a bit extreme.
Good luck!
Recommended Gear & Links:
🎹 Buy your Nord keyboards at Sweetwater* and get a 2-year warranty! (for U.S. Customers only)
📘 Looking to level up with Nord’s newest keyboard? Master the Nord Stage 4 course is now live!
🎛️ Want to really understand how synths work? Syntorial teaches you how to program synthesizers step by step, helping you shape sounds with confidence.
Learn Synth Programming with Syntorial
Want More?
Also, if you have questions... you can post a comment on any of the videos.
Recommended Gear & Links:
🎹 Buy your Nord keyboards at Sweetwater* and get a 2-year warranty! (for U.S. Customers only)
📘 Looking to level up with Nord’s newest keyboard? Master the Nord Stage 4 course is now live!
🎛️ Want to really understand how synths work? Syntorial teaches you how to program synthesizers step by step, helping you shape sounds with confidence.
Learn Synth Programming with Syntorial
Some links above are affiliate links that provide me with a small commission to help support My Keys To Music. The price is the same even if you use the links for your purchase. Thank you! 🙏🏻
Thanks for visiting!
Marc 🎹
My Keys To Music